How to Screenshot on Windows
One of the most significant advantages of using Windows as your primary desktop operating system and workstation is that allows for a lot of conveniences and versatility with regard to specific needs and functions. If you need something done, chances are it’s possible on your PC.
With that said, one commonly-used (or sought-after) feature on Windows is the screenshot feature, which comes in handy for taking records of whatever content you have displayed on your screen at the moment and saving it as an image file for later use.
If you’re at a loss as to how to save screenshots from your Windows computer, we’ve prepared this nifty little guide on how to take screenshots on your PC.
Method 1: Use “Ctrl + PrtSc”
With this first method, you’ll be able to take a temporary screenshot of your displayed content, which you can paste into other applications like Word, Paint, etc.
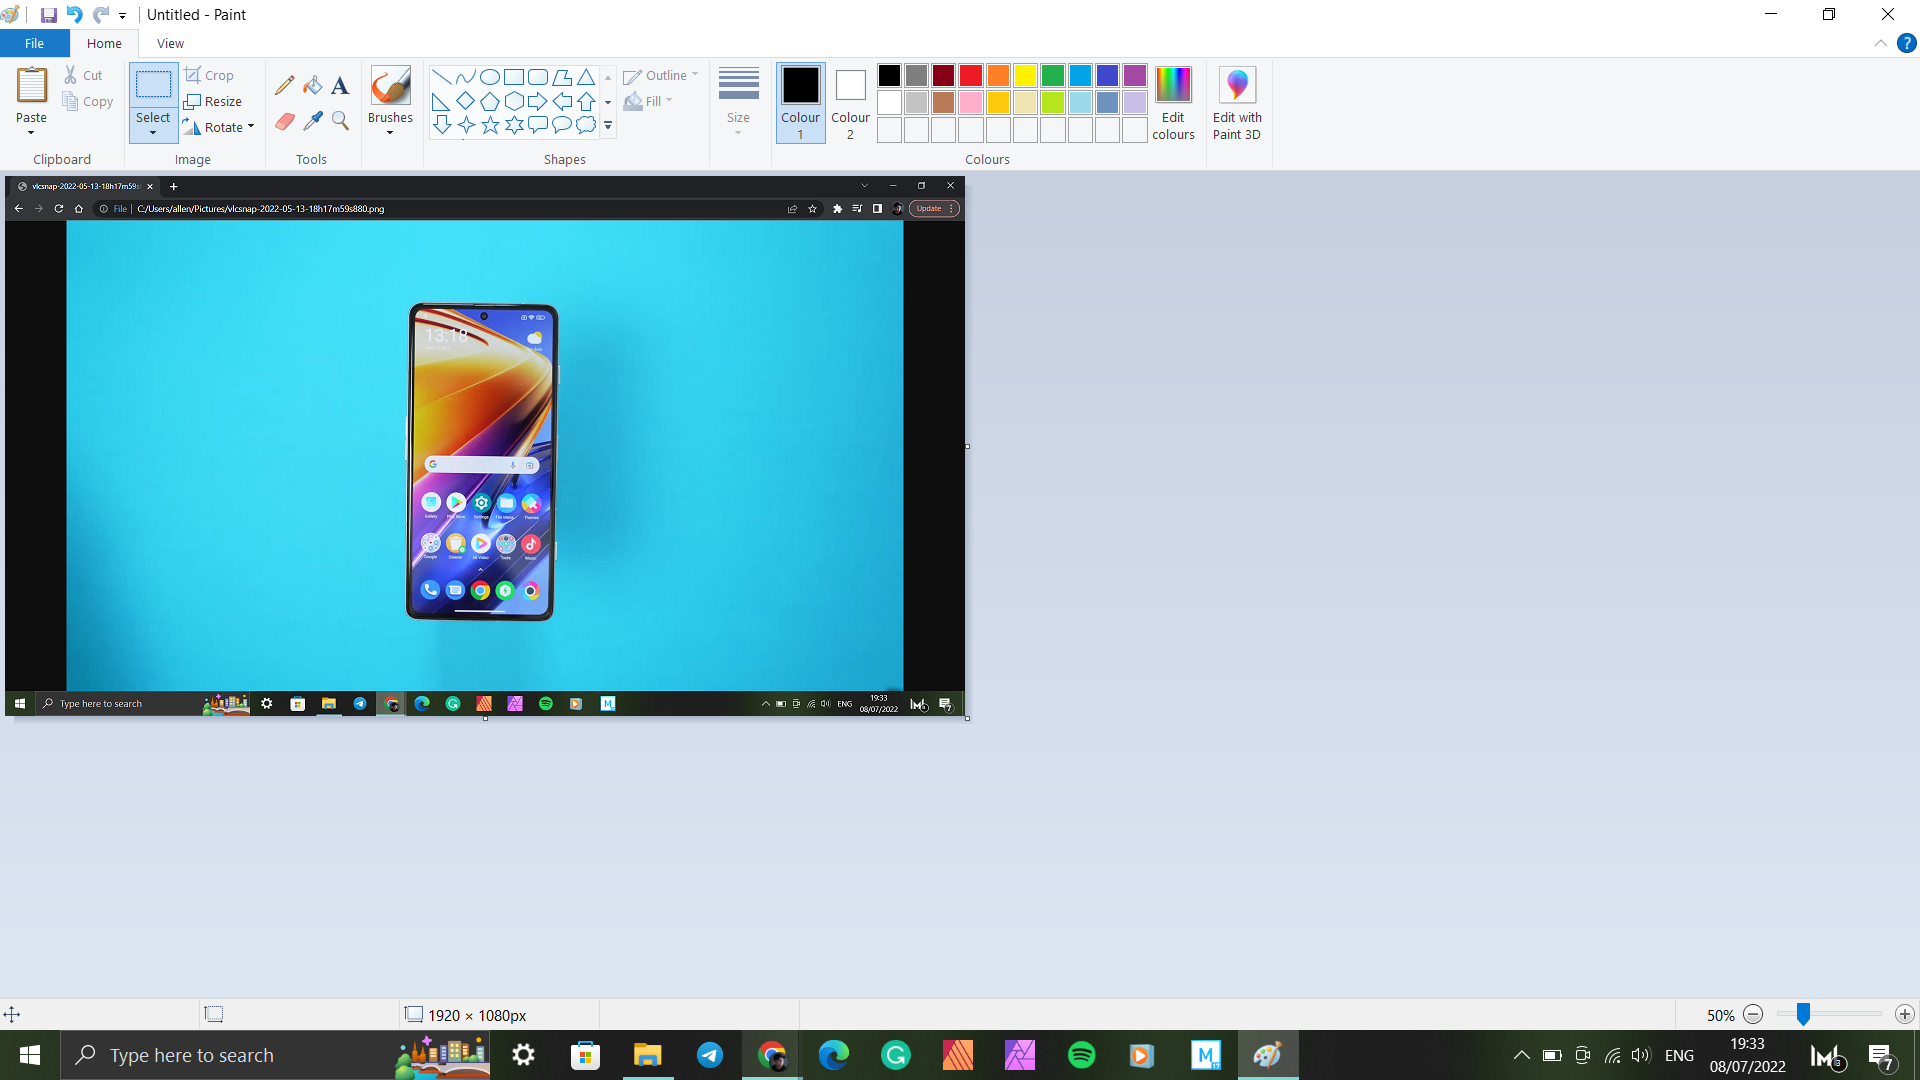
- Hold down the “Ctrl” button, and then press “PrtSc” simultaneously.
- Open your image editing software (or other compatible software).
- Hold down Ctrl again, and press “V” to paste the image into the software.
- Save the document.
Method 2: Use the Windows Button
While the first method allows you to paste your screenshot directly into your editing software, it doesn’t actually save the image file until you decide to do so. With this second method, you can directly save the image file to your PC without the need for pasting it into an application.
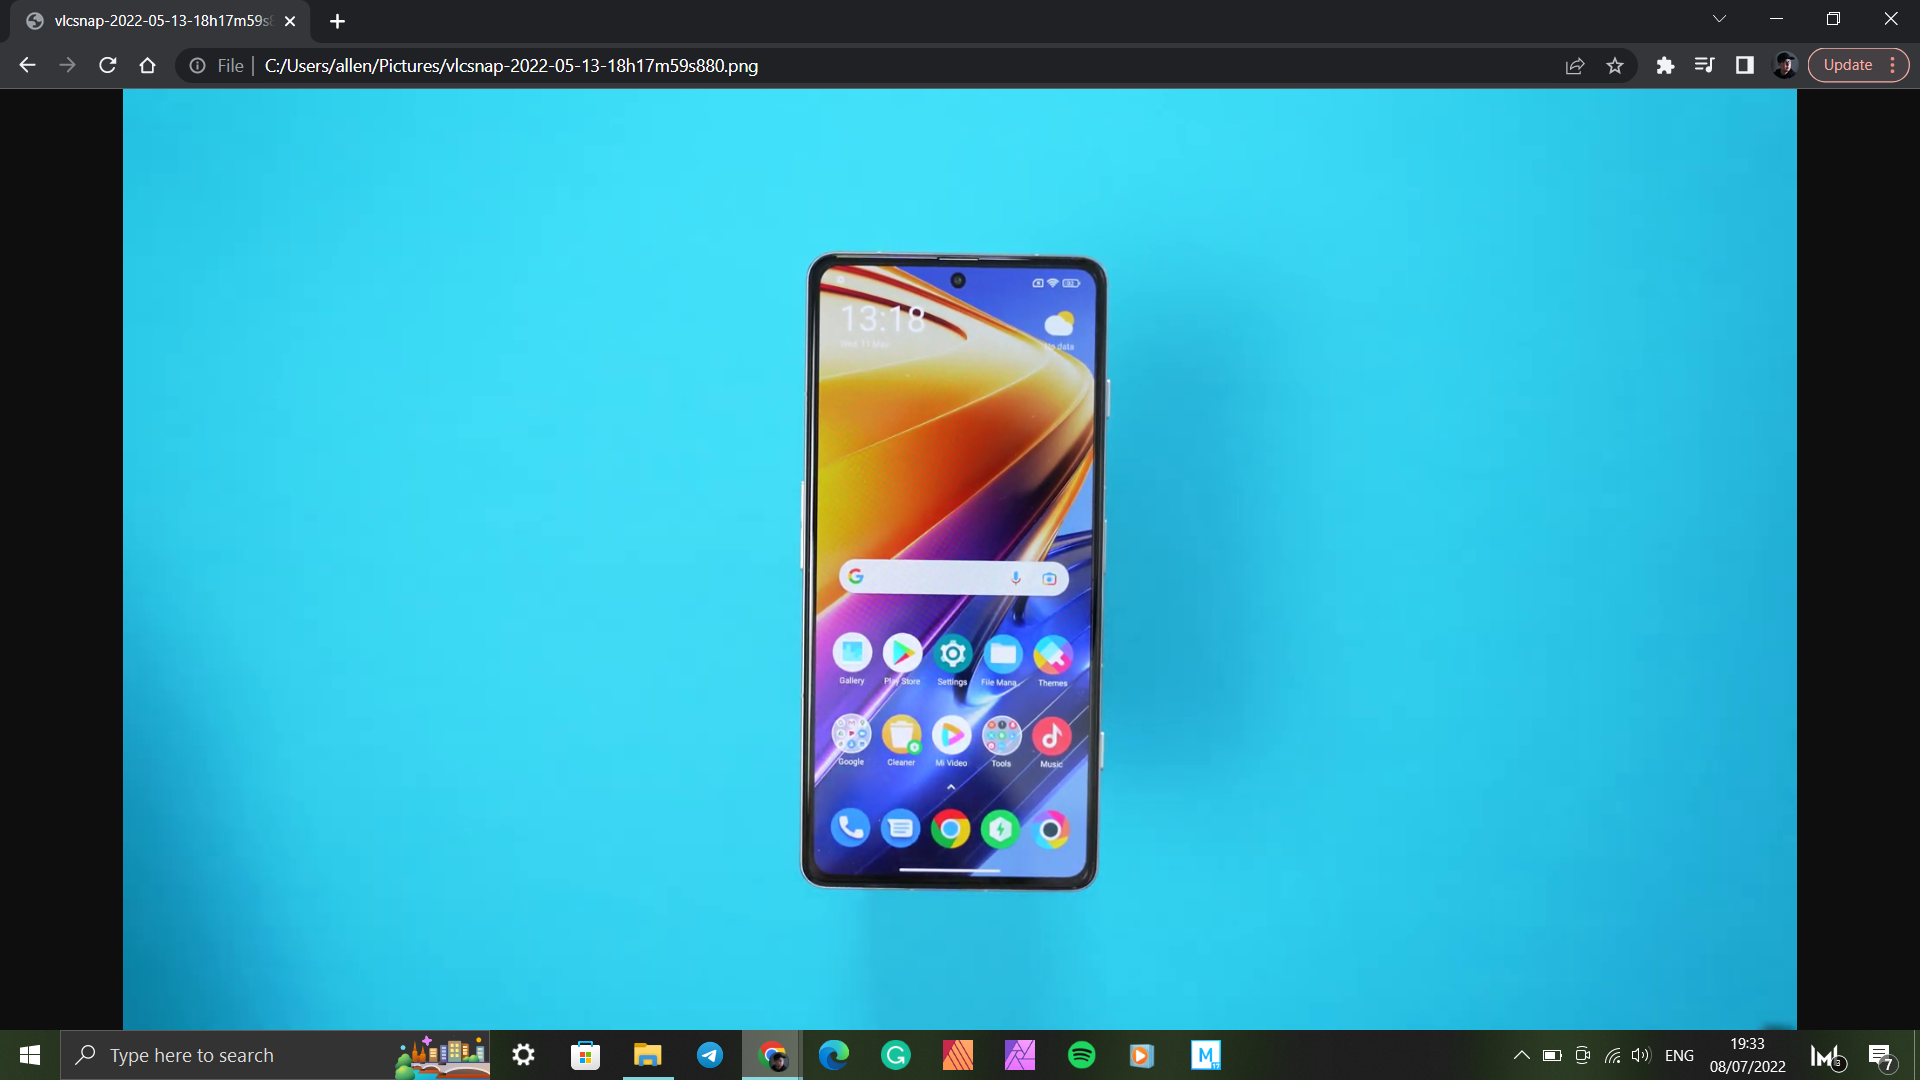
- Hold down the Windows Logo Key (usually between ‘Alt’ and ‘F’ on the bottom left of your keyboard) and press “PrtSc” simultaneously.
- The screenshot should then be saved as a “.png” format file. By default, you can find the saved image by opening your File Explorer > Pictures > Screenshots.
Method 3: Use the Snipping Tool
If you only want to take a partial screenshot of a specific area on your screen, then Windows includes a handy Snipping Tool which can be accessed in two ways.

- Press and hold the Windows Logo Key, “Shift,” and “S” simultaneously to prompt the Snipping Tool.
- You can then reshape the on-screen rectangle to select which part of the screen to copy.
- Alternatively, you can also click on Start, type “Snipping Tool” to open the app.
- Click on “New” to take a screenshot.
- Note that in both cases, the screenshot will be saved temporarily to your clipboard, which you can then paste and save into a compatible app.
We hope these tips were helpful to you – be sure to visit our official YouTube channel where we review and go hands-on with different kinds of tech, as well as the Geekiest Stuff on the internet!